This guide covers complete replacement of a damaged Magnalatch V2 / Series 2 knob using the Gen3 replacement knob. Before starting, use the Identification & Damage Guide to confirm your damage level and which option applies to you.
Know you’ve got the right parts and ready to order? Magnalatch V2 Aluminum Replacement Knob on Etsy →
What’s in the Box
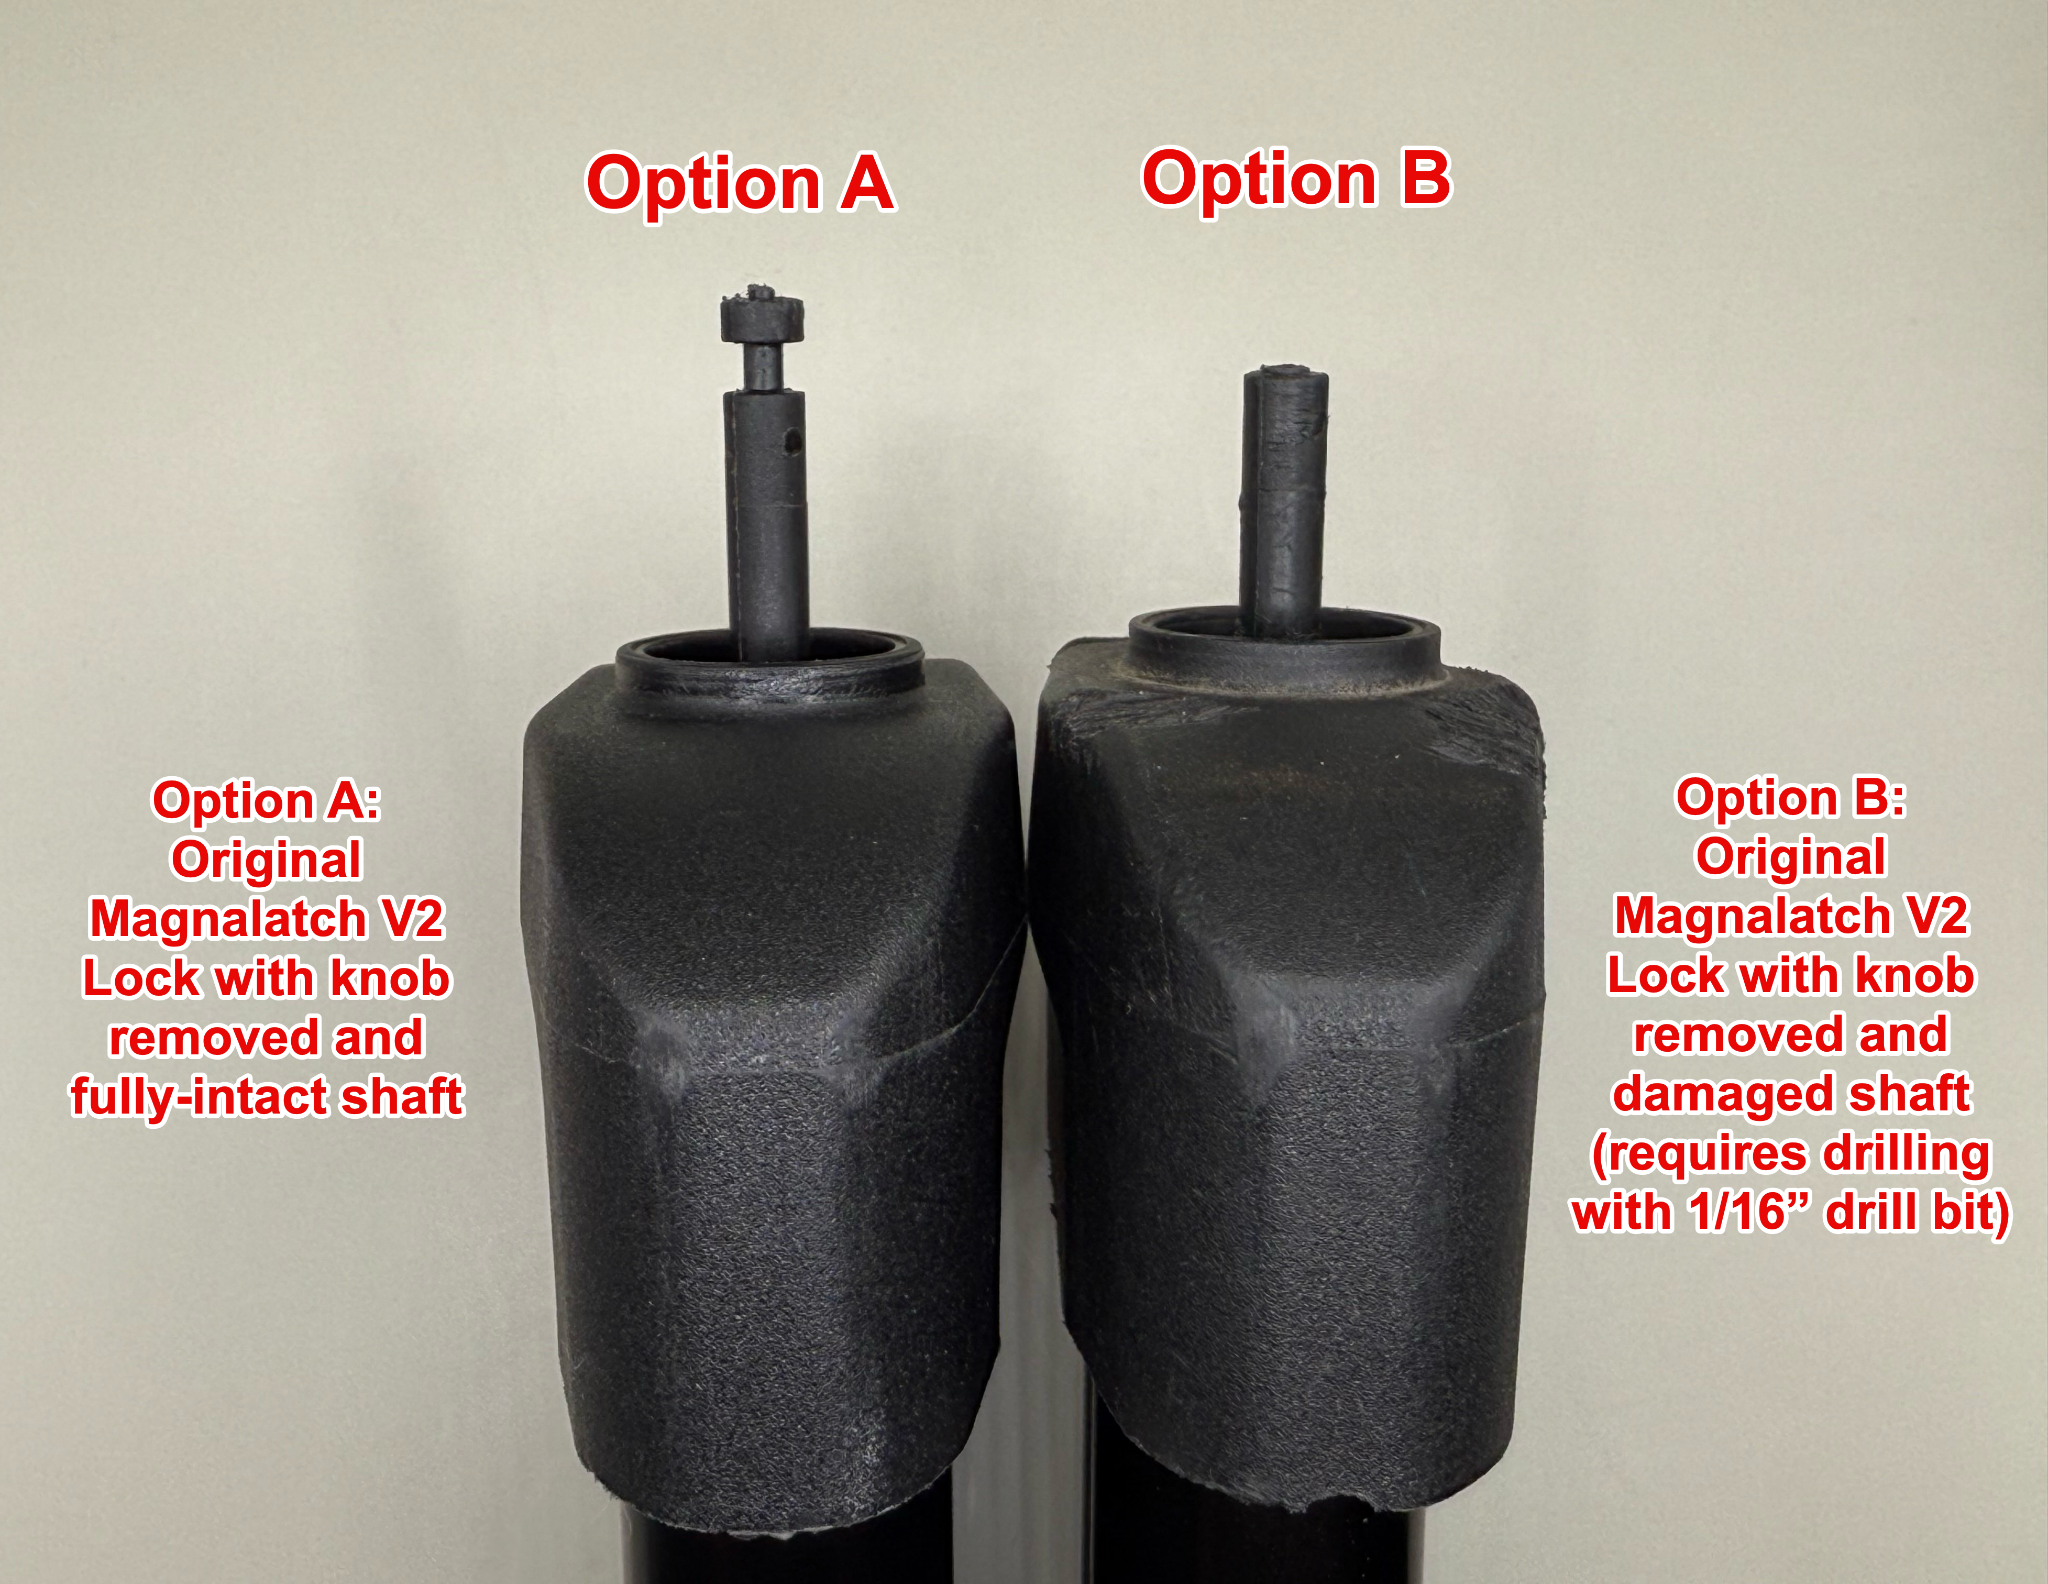
- Option A: For V2 Magnalatch with an undamaged, unmodified shaft
- Option B: For V2 Magnalatch with a damaged shaft, or a shaft that has been trimmed to support Gen1 or Gen2 replacement knobs
 |
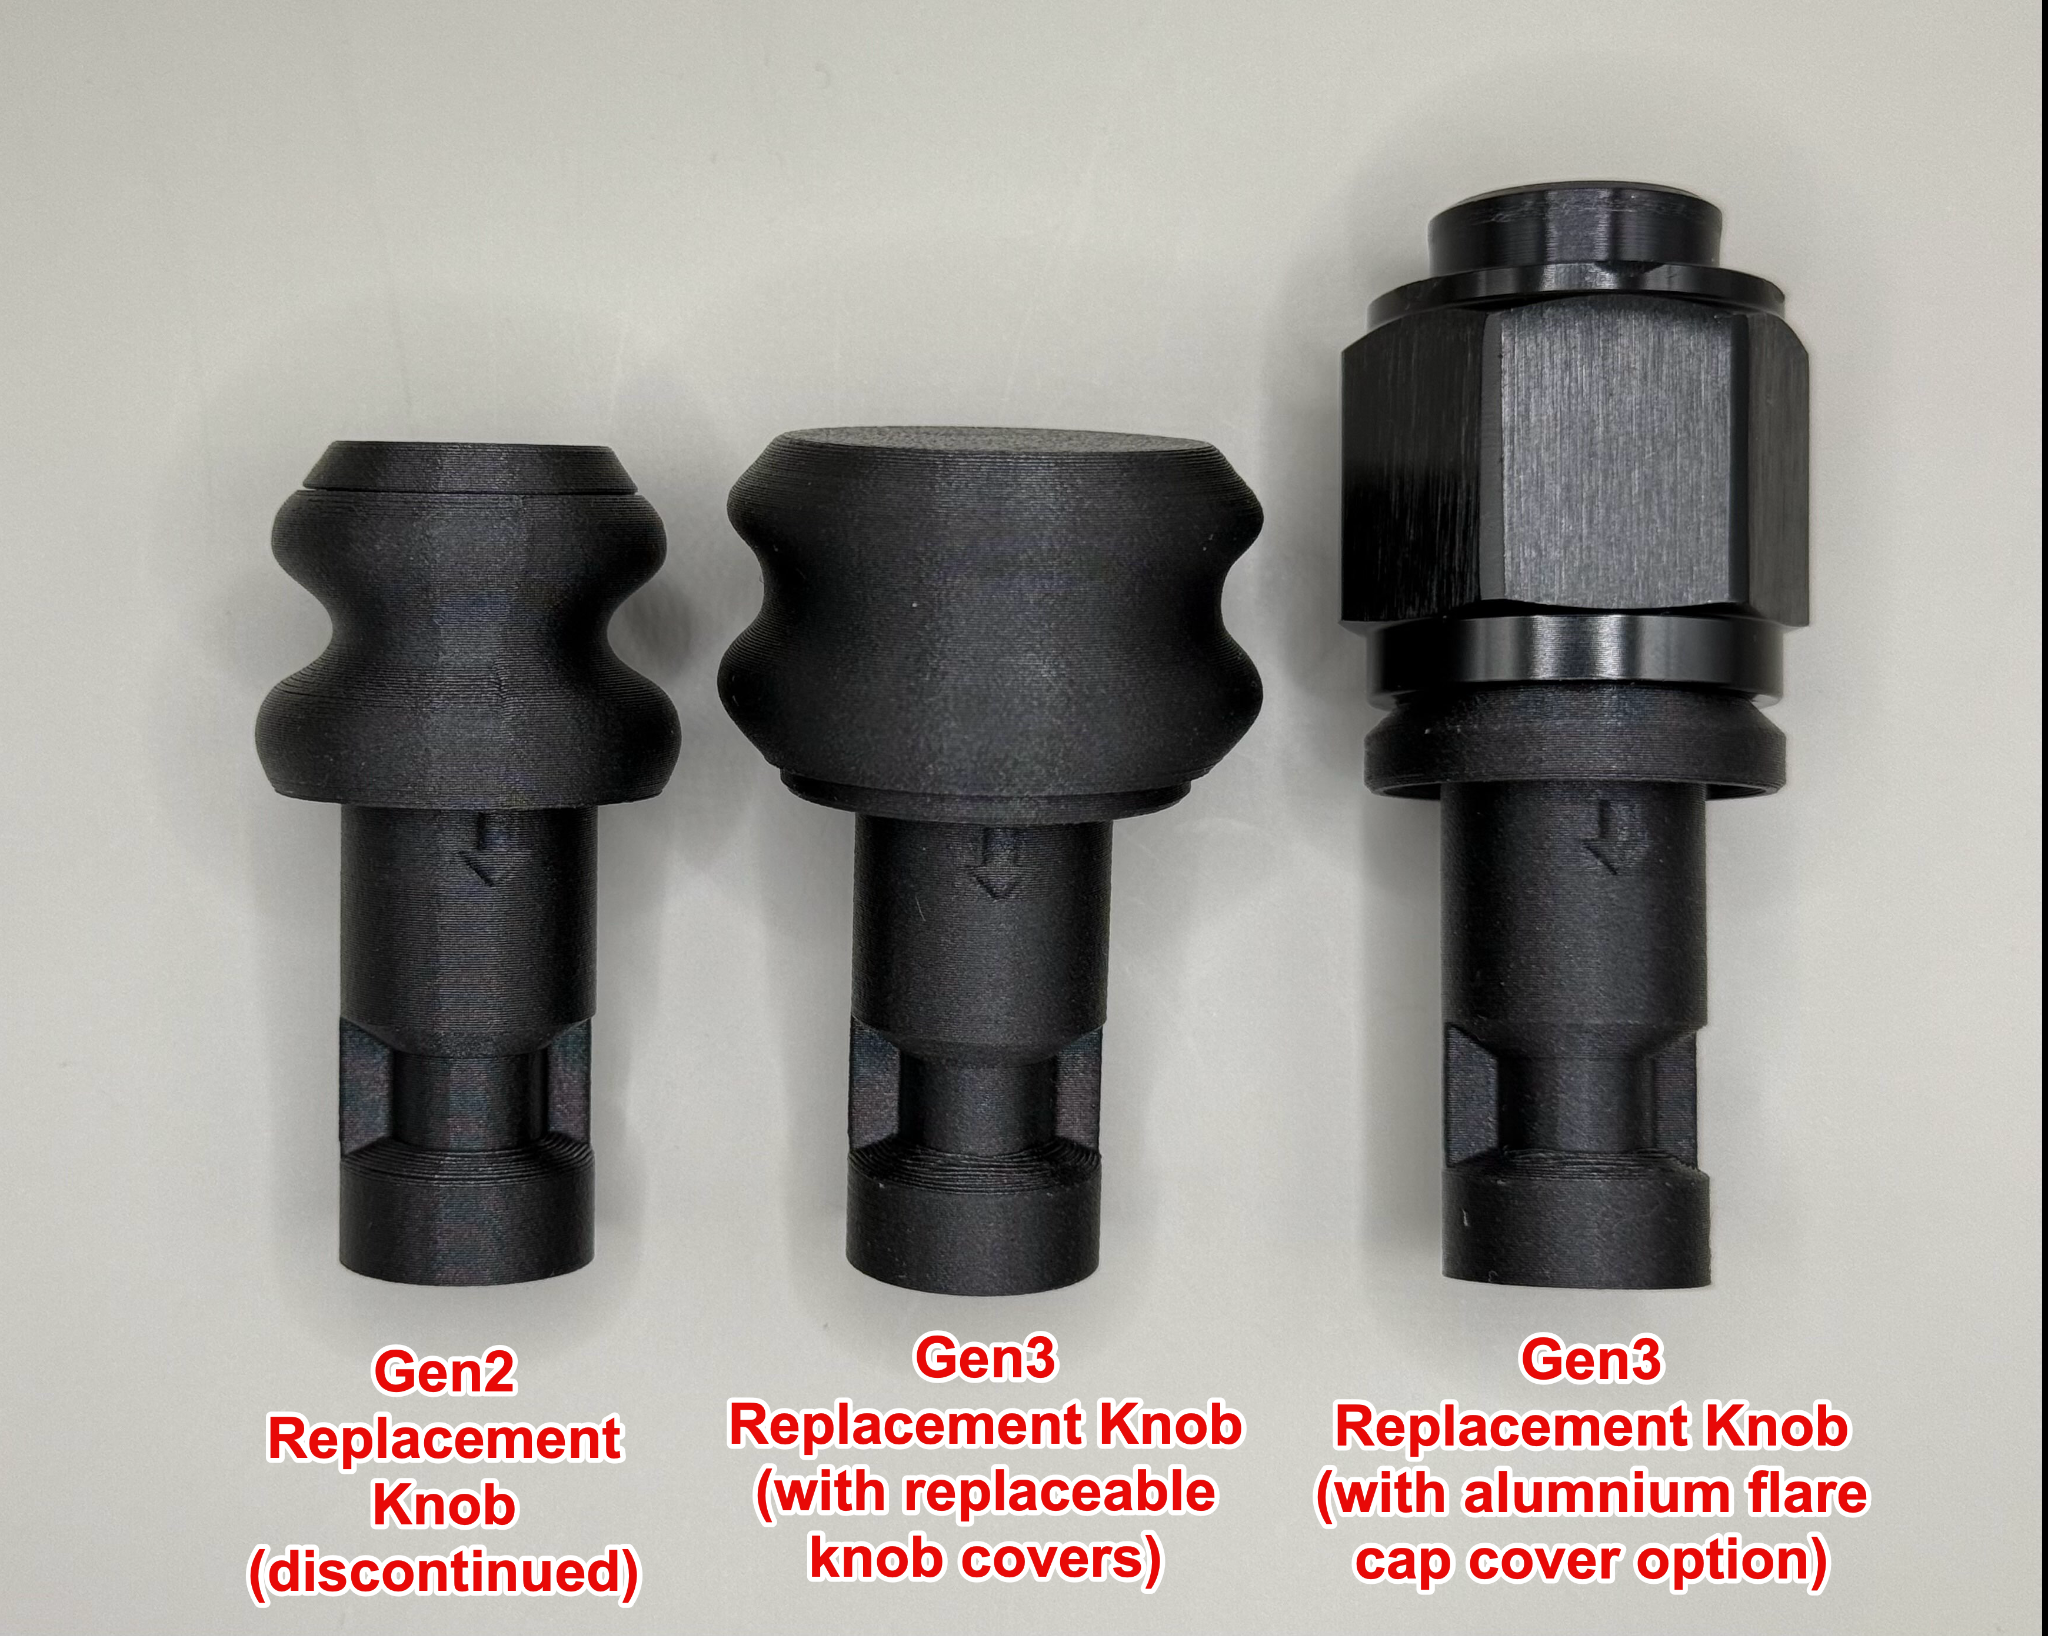 |
Gen3 benefits over previous versions:
- No drilling required if your shaft is intact (Option A)
- Lock function continues to work — line the arrow up with the front of the lock
- No drilling on the side of the shaft
- Visually similar to the original Series 2 knob
- Easier to replace knob covers
- Standard aluminum cap provides extra protection from squirrels
Tools Required
- 12” of dental floss or thin string — waxed dental floss works best (maintains knots, stays rigid through the knob - this will come with your order)
- Large flat-head screwdriver
- Medium-sized Phillips screwdriver (Option B only)
- Drill & 1/16” drill bit (Option B only)
Before You Start
- If your current Magnalatch does not have easy access to the inner shaft (partial damage, some pull remaining), complete the Prep step below before proceeding to Option A.
- If the shaft is accessible, check whether it is damaged and proceed to Option A or Option B.
- When in doubt, use the Examples below to determine where to go.
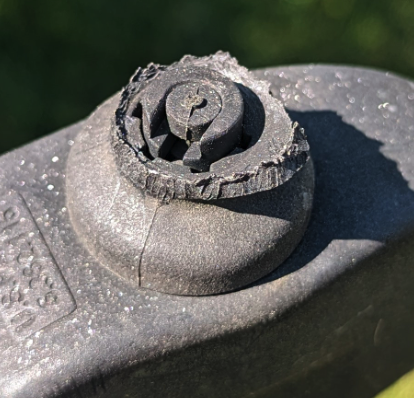
Examples
 |
 |
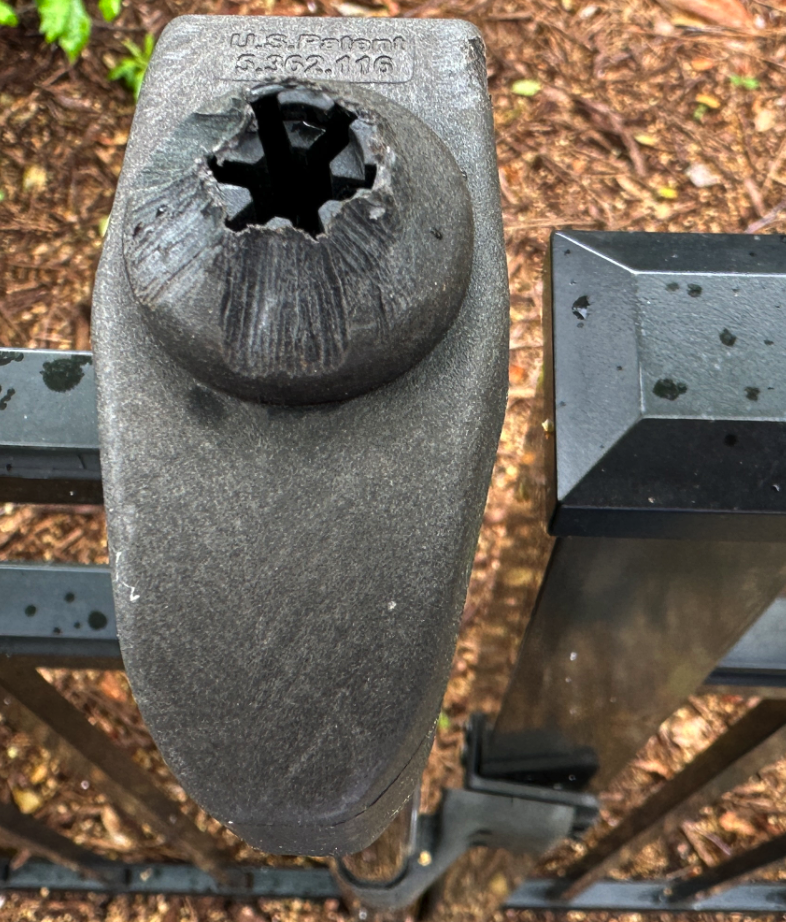 |
| Remove clip, follow Option A | Follow Option B | Shaft likely damaged — Option B |
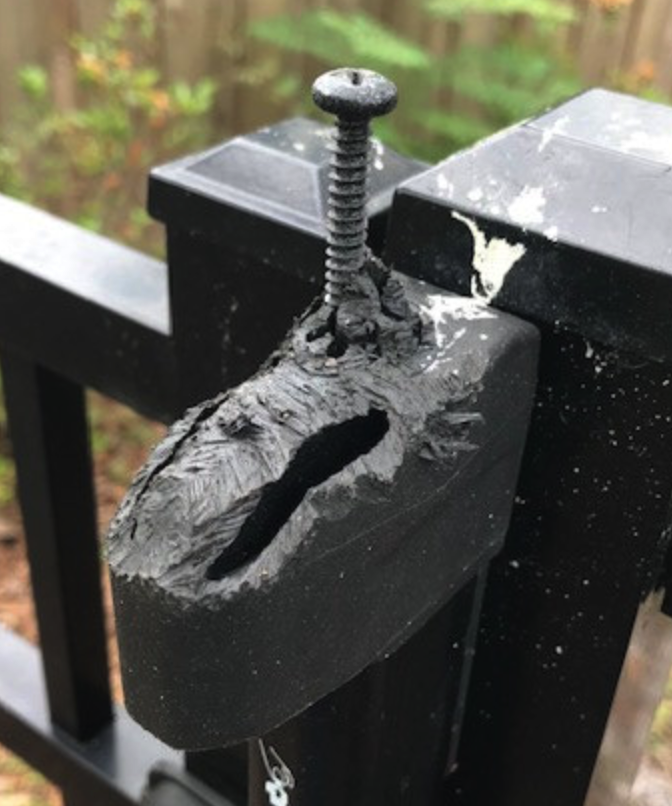 |
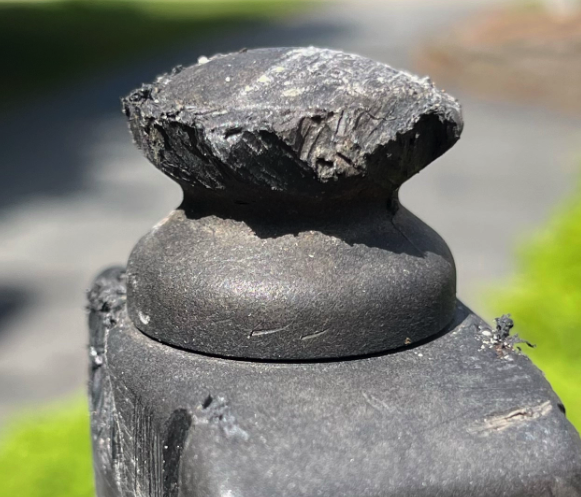 |
| Shaft severely damaged — Option B may work but no promises. Body cover can hide body damage. | Cosmetic only — Knob Cover would work, or follow Prep step then Option A. Consider waiting until cap is fully missing. |
Prep: Accessing the Shaft
Only needed if partial knob remains and the shaft isn’t directly accessible.
1. Pop the cap off what remains of your V2 knob. Depending on the damage, you may not have a cap left at all. Use a small screwdriver or razor blade to pop it off.
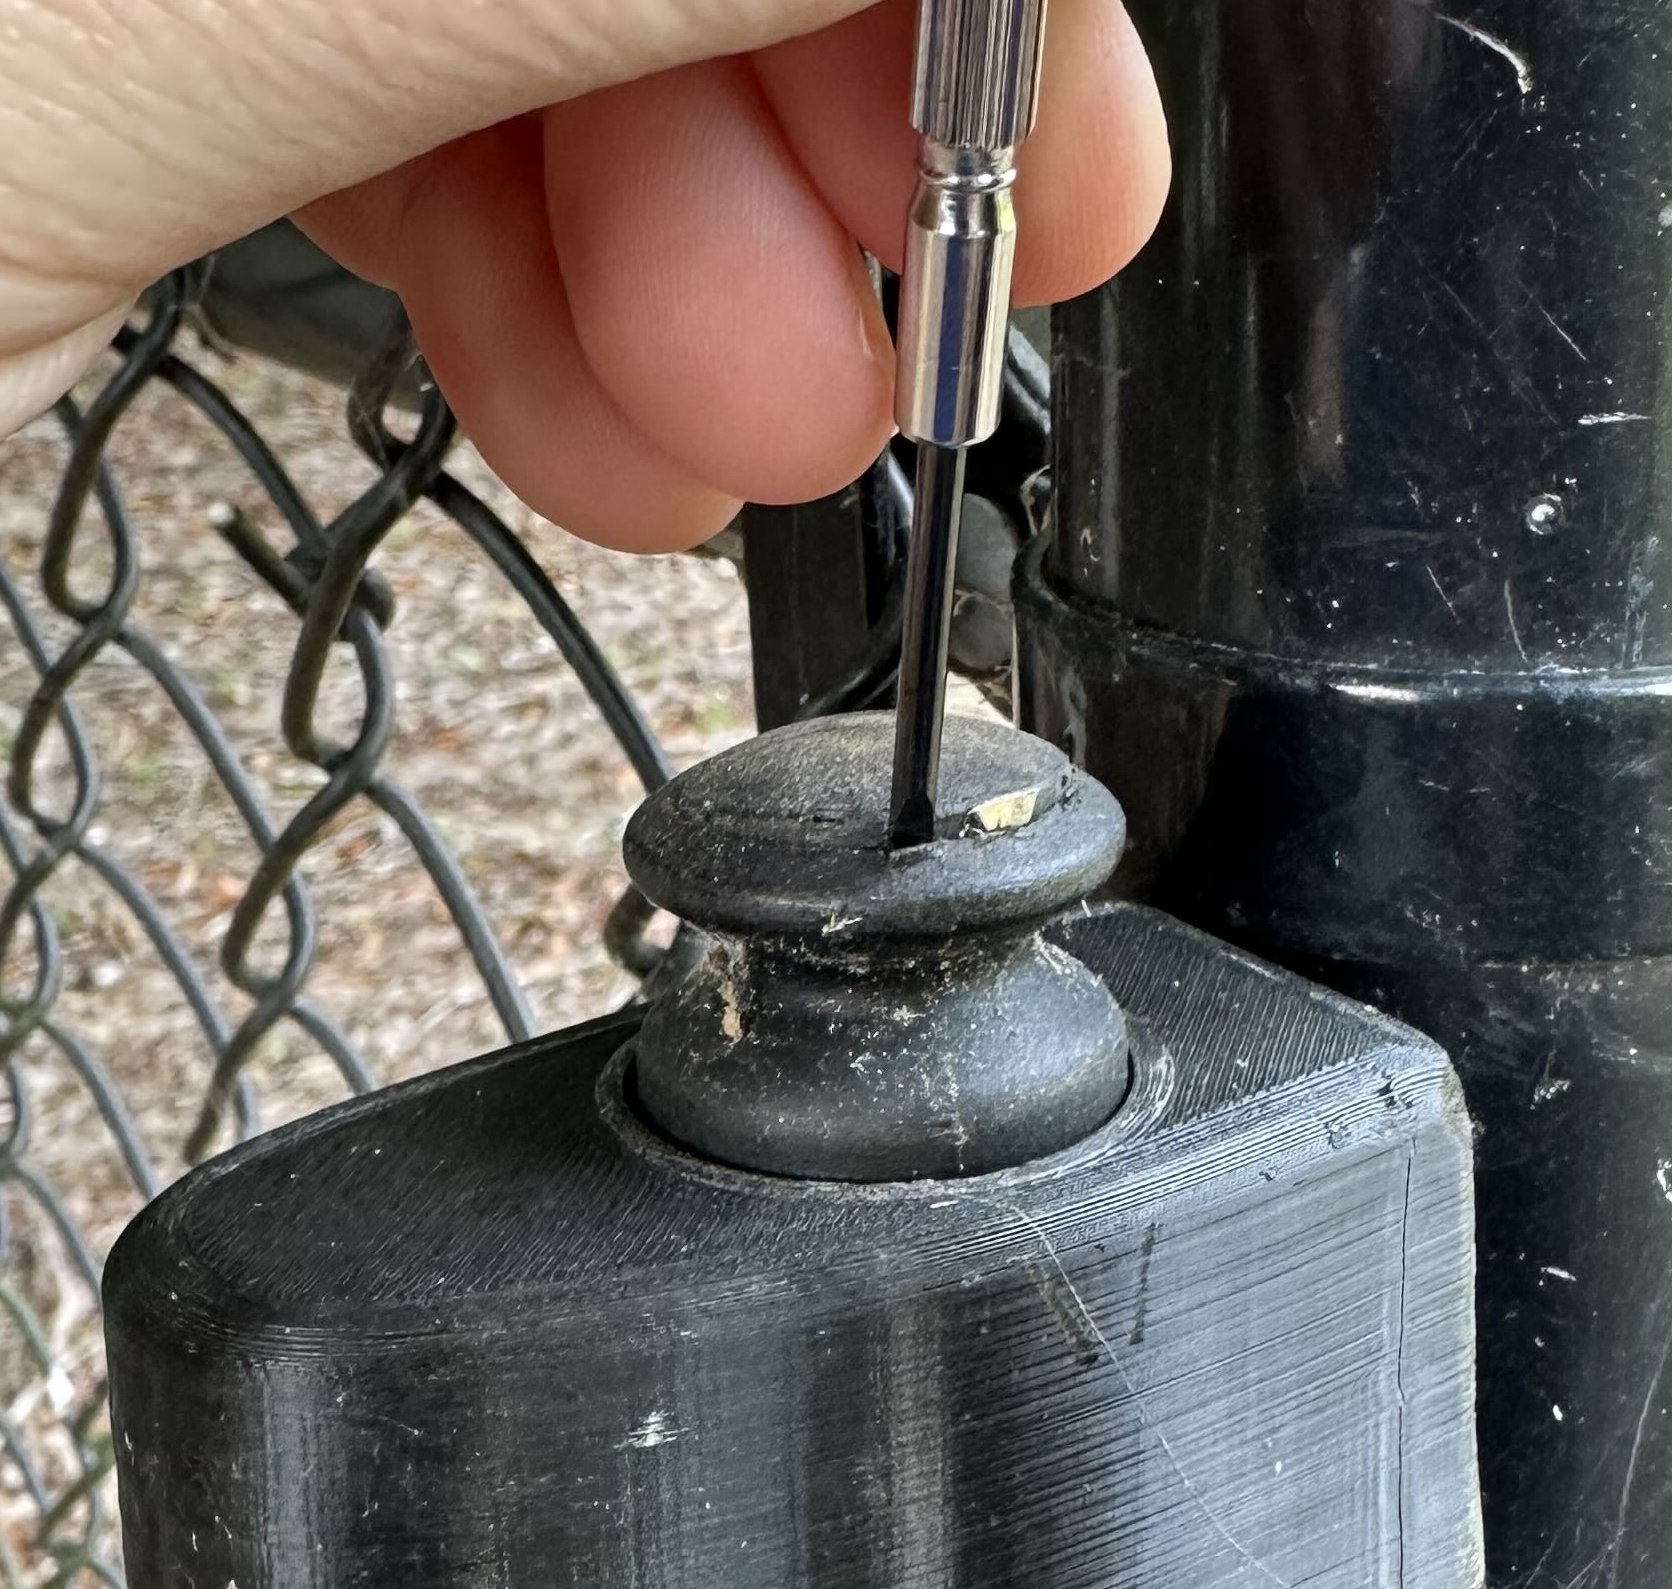 |
 |
You should now see the top of the shaft with a clip on it that holds the shaft inside the knob. Your knob will not have a hole in the top of the shaft if you haven’t used replacement knobs before.
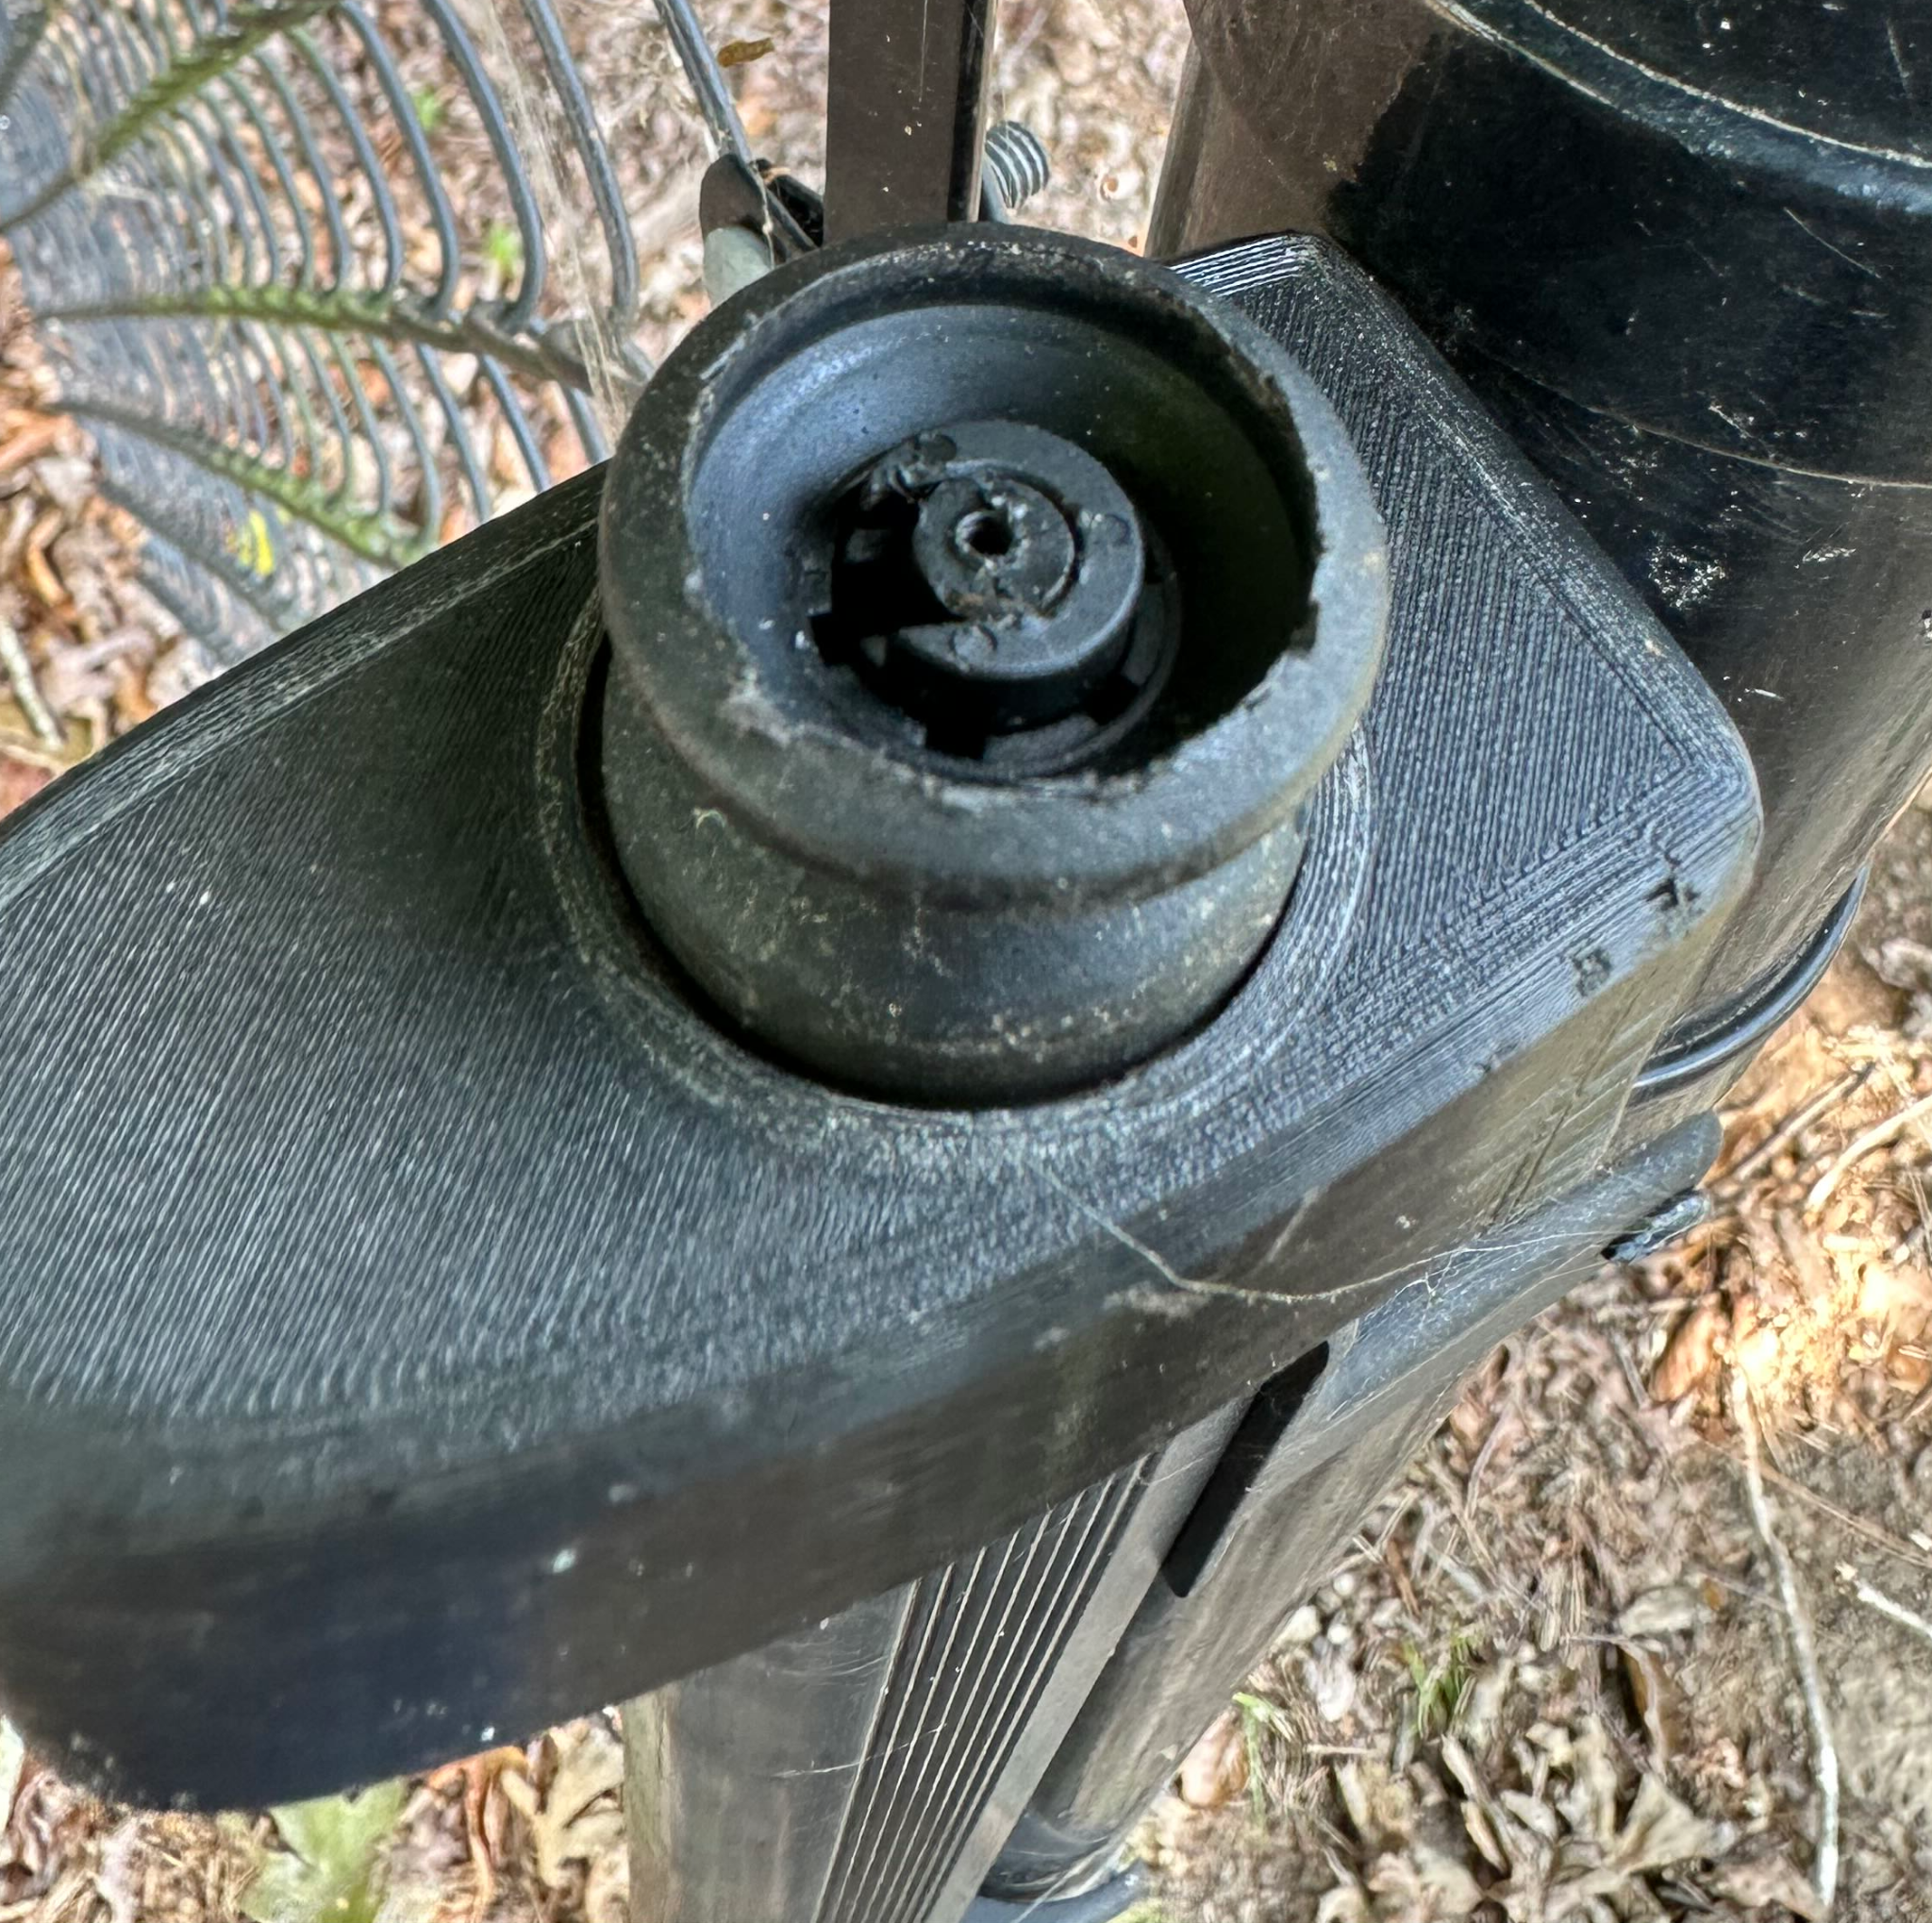
2. Use a screwdriver to lift up the shaft and clip. The clip should slide off as shown below. Remove what remains of the damaged pull and set it aside.
 |
 |
- If the clip and shaft are fully intact (like Option A above) — no further shaft modification needed. Proceed to Option A.
- If the shaft is not fully intact and looks like Option B — proceed directly to Option B.
Option A — Intact Shaft
Use this when the inner shaft is fully undamaged and unmodified.
📹 Watch the Option A Installation Video (based on Gen2, but all preparation steps are the same with Gen3)
1. Tie the dental floss to the end of the shaft and thread the floss through the replacement knob body, then pull the shaft up through the knob.
 |
 |
2. Slide the existing clip — or the provided clip if the original is damaged — over the shaft.
3. Pull the floss gently. It should pull out cleanly and leave the clip in place.
4. GENTLY screw the aluminum knob cap onto the replacement body.

Shown above with optional Body Cover.
Option B — Damaged Shaft
Use this when the shaft has been chewed, broken, or previously trimmed for Gen1/Gen2 installation.
📹 Watch the Option B Installation Video (based on Gen2, but all preparation steps are the same with Gen3)
1. Pull the rod out of the lock body, clip off what remains of the damaged thin shaft end, and sand the end flat.
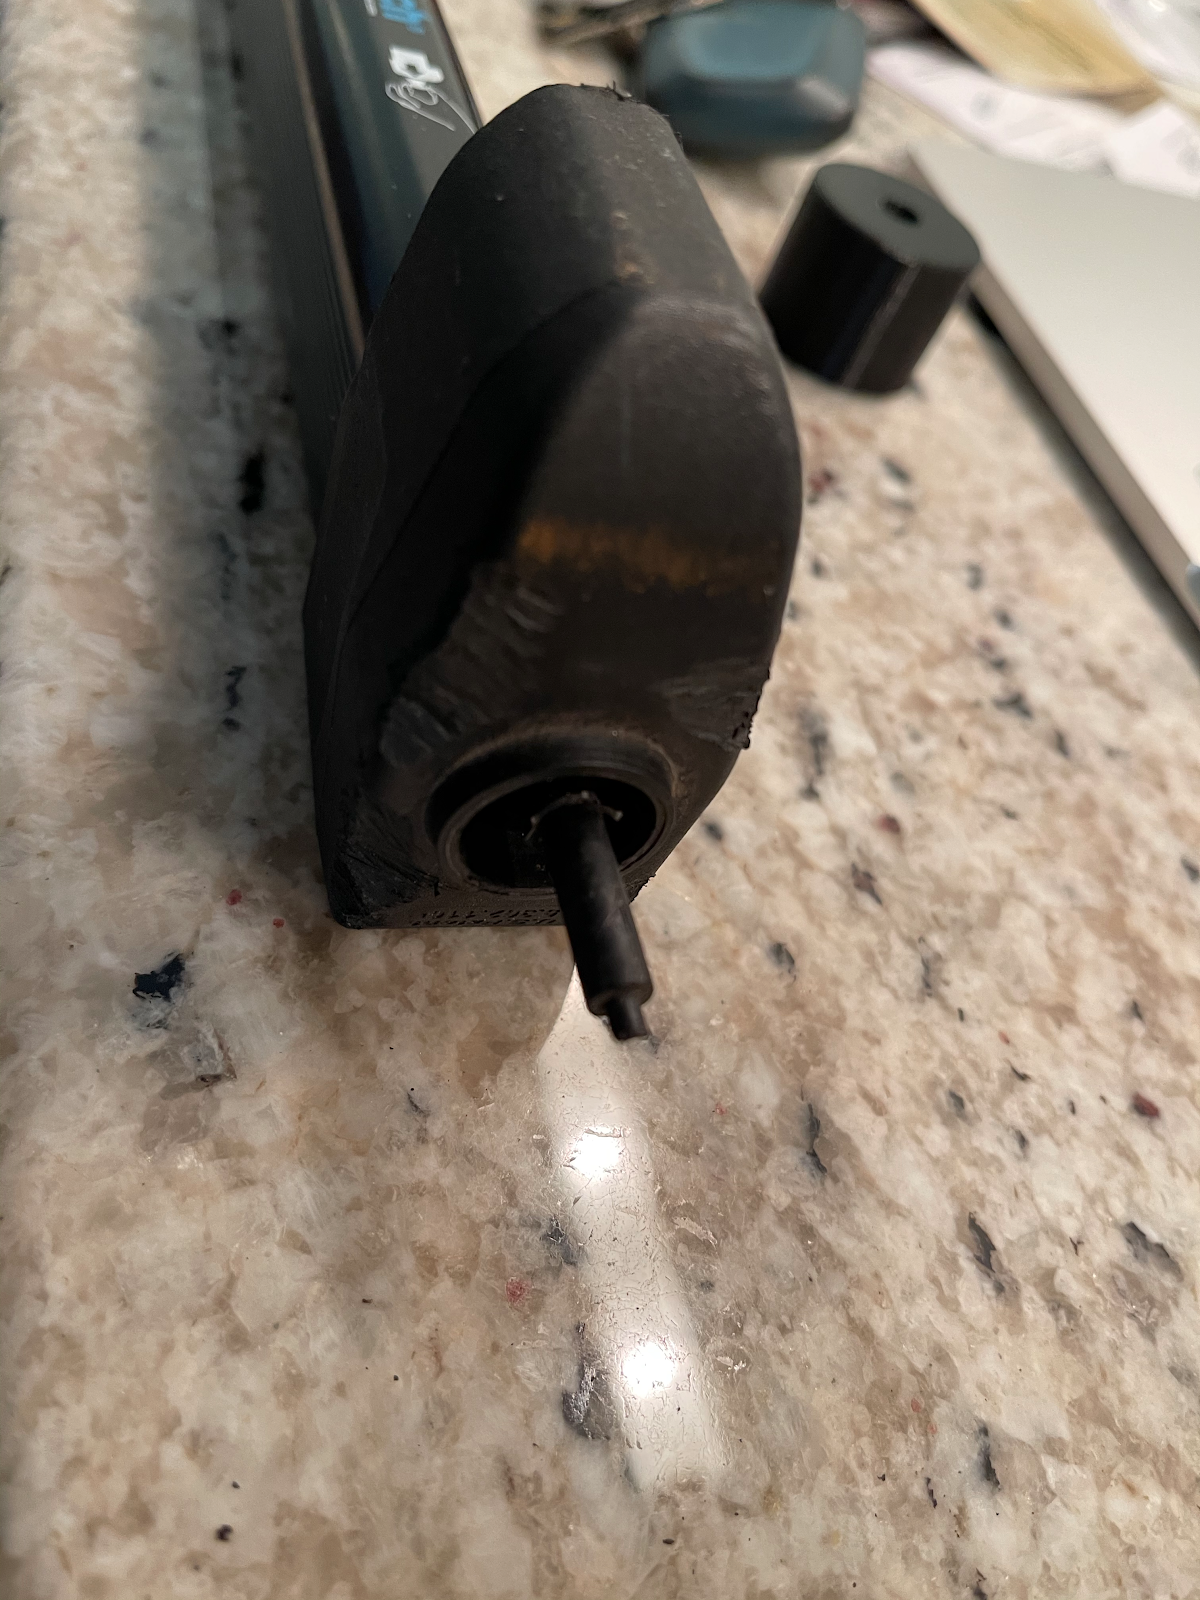 |
| Pull rod out |
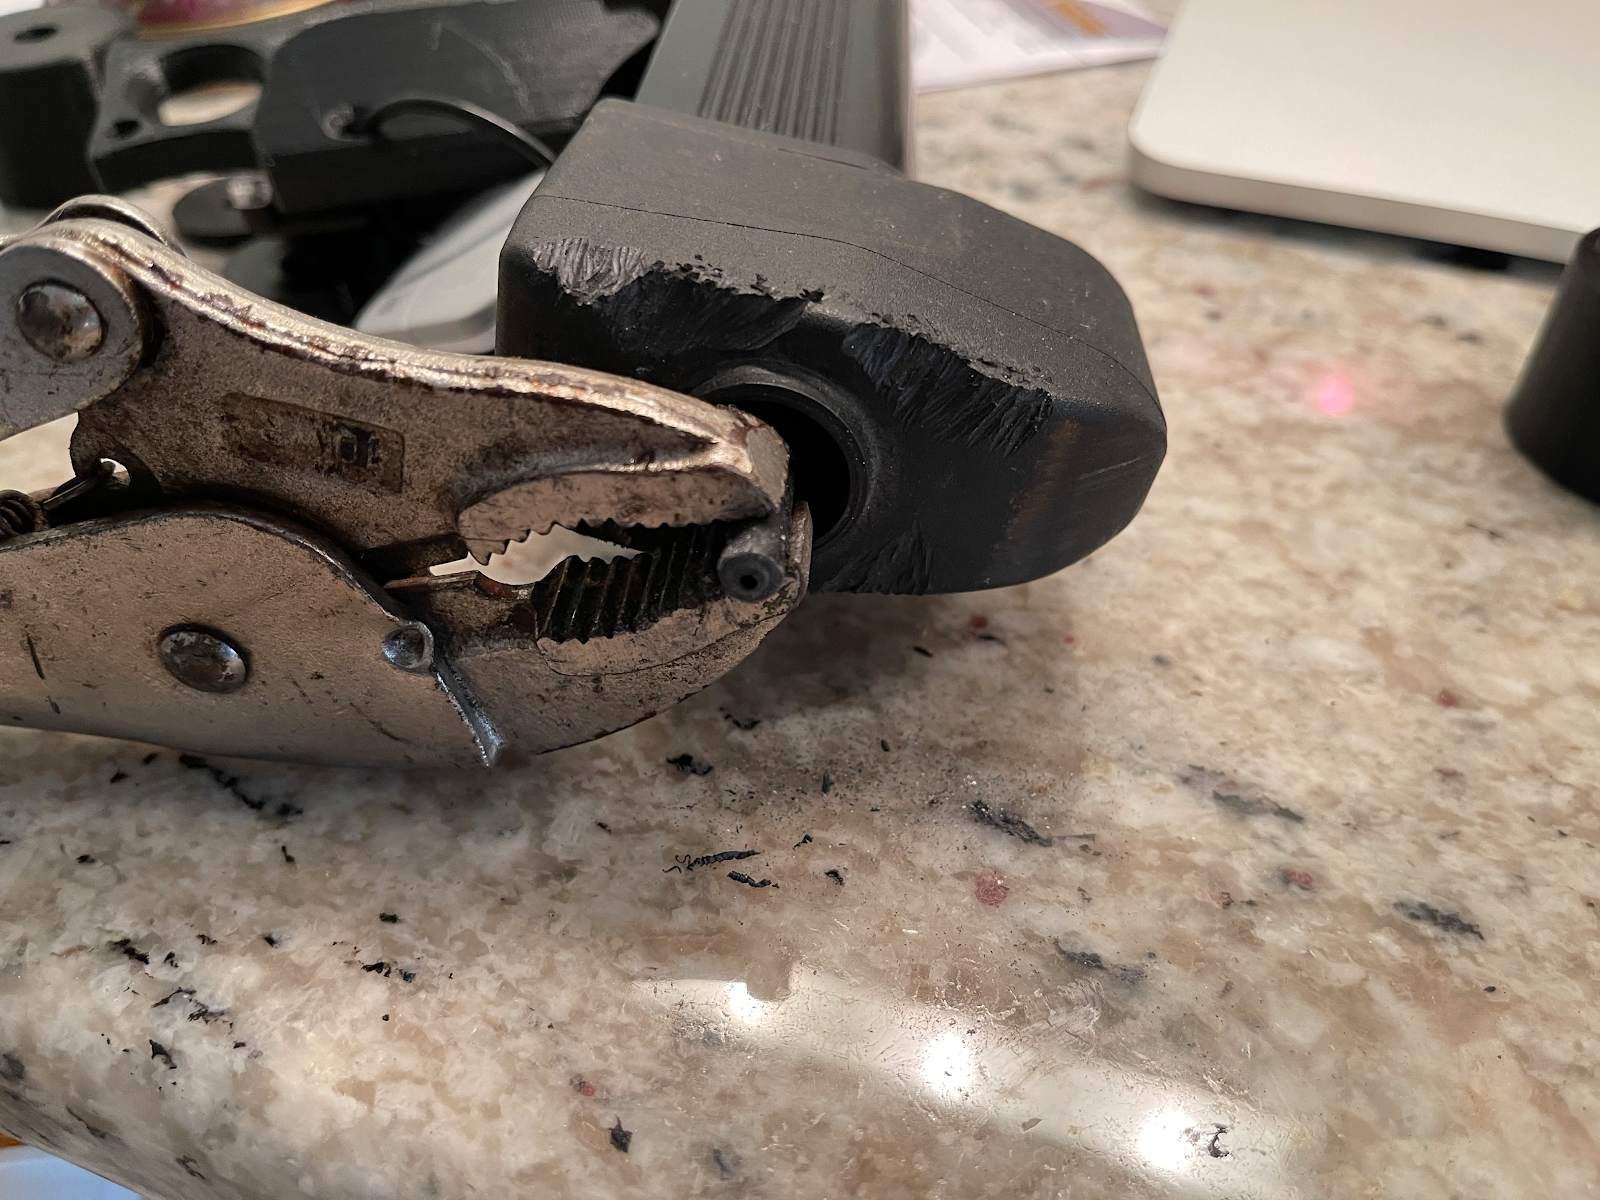
 |
| Clip damaged end |
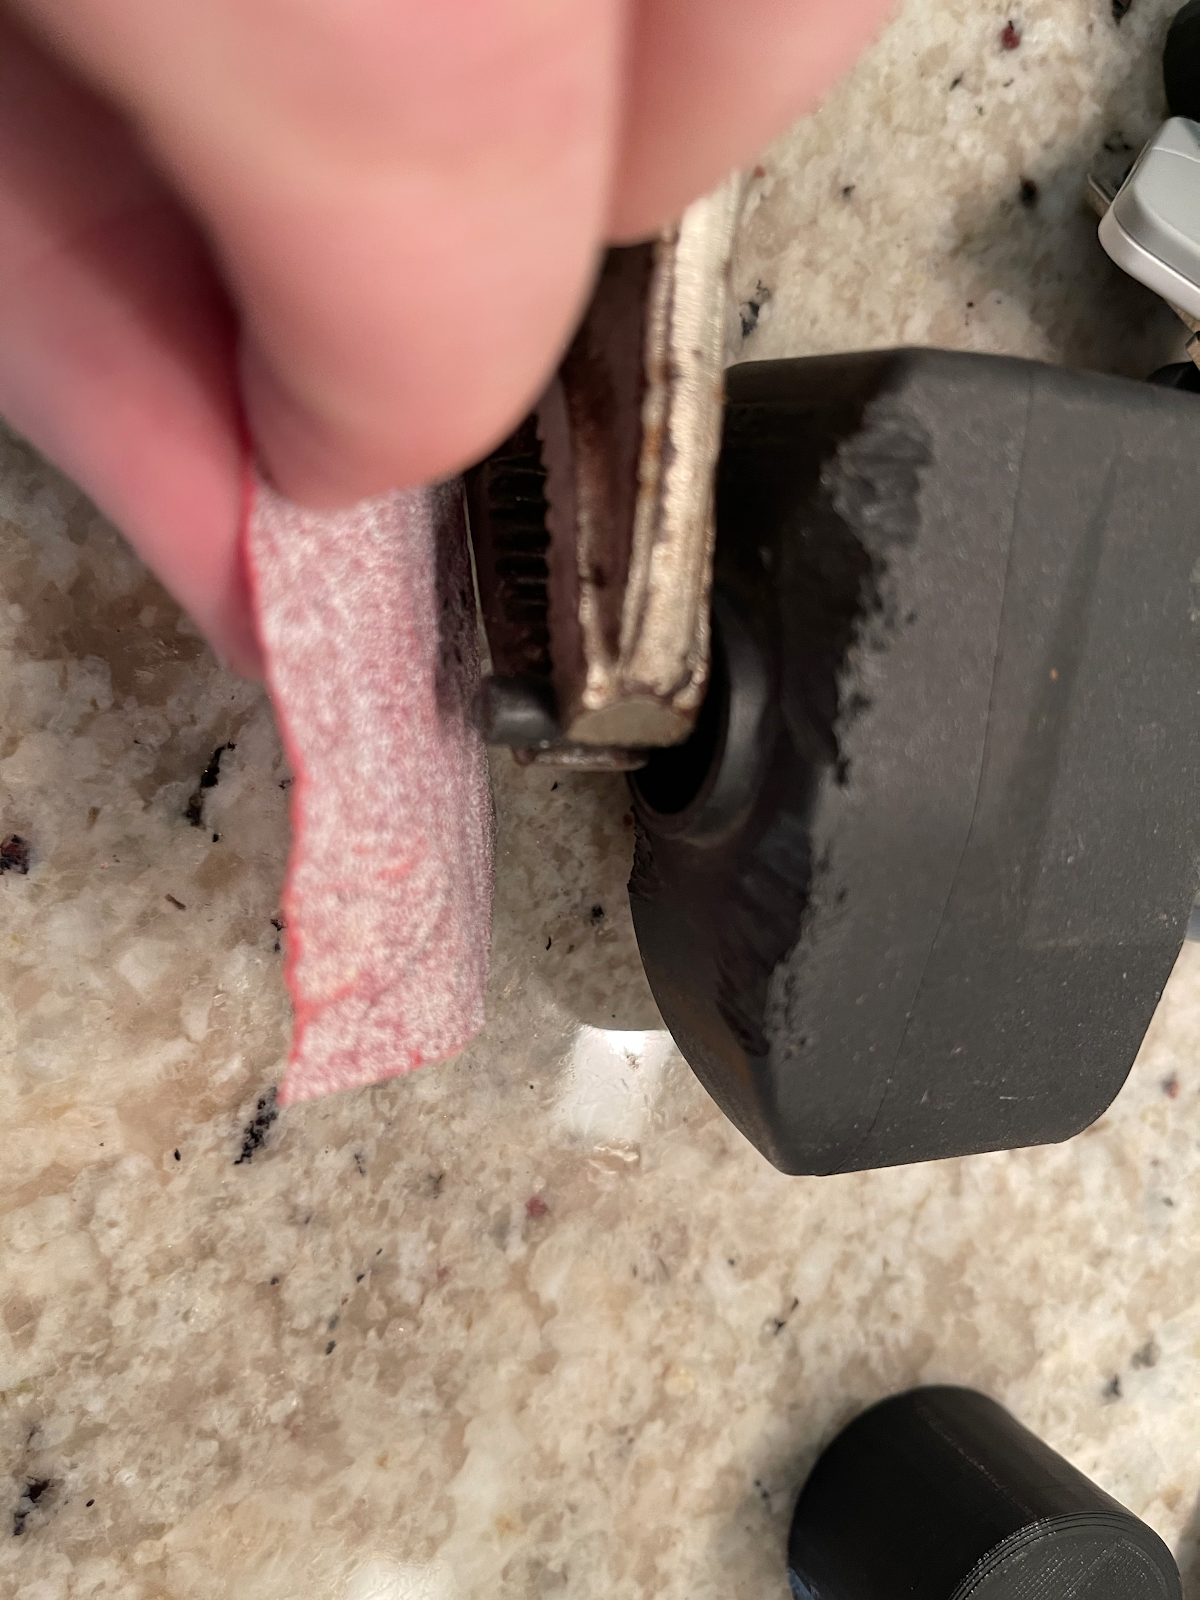 |
| Sand flat |
2. Use a 1/16” drill bit and drill a hole ½” deep straight into the rod — be sure to drill perpendicular to the horizon (straight down if the unit is mounted).
3. Screw the included screw into the shaft about ¼” until tight — do not overtighten.
4. Follow the Option A instructions above, but instead of the clip going around the inner shaft, the clip will go around the screw once pulled through the replacement knob.
Questions?
Contact us — include a photo if possible and we’ll help you determine the right path before you start.
Cronological Technologies, LLC is not affiliated with D&D Technologies or Magnalatch. Magnalatch is a trademark of D&D GROUP PTY LTD.