This guide covers complete replacement of a damaged Magnalatch V3 / Series 3 knob using the Gen3 replacement knob. Before starting, use the Identification & Damage Guide to confirm your model and damage level.
Know you’ve got the right parts and ready to order? Magnalatch V3 Aluminum Replacement Knob on Etsy →
What’s in the Box
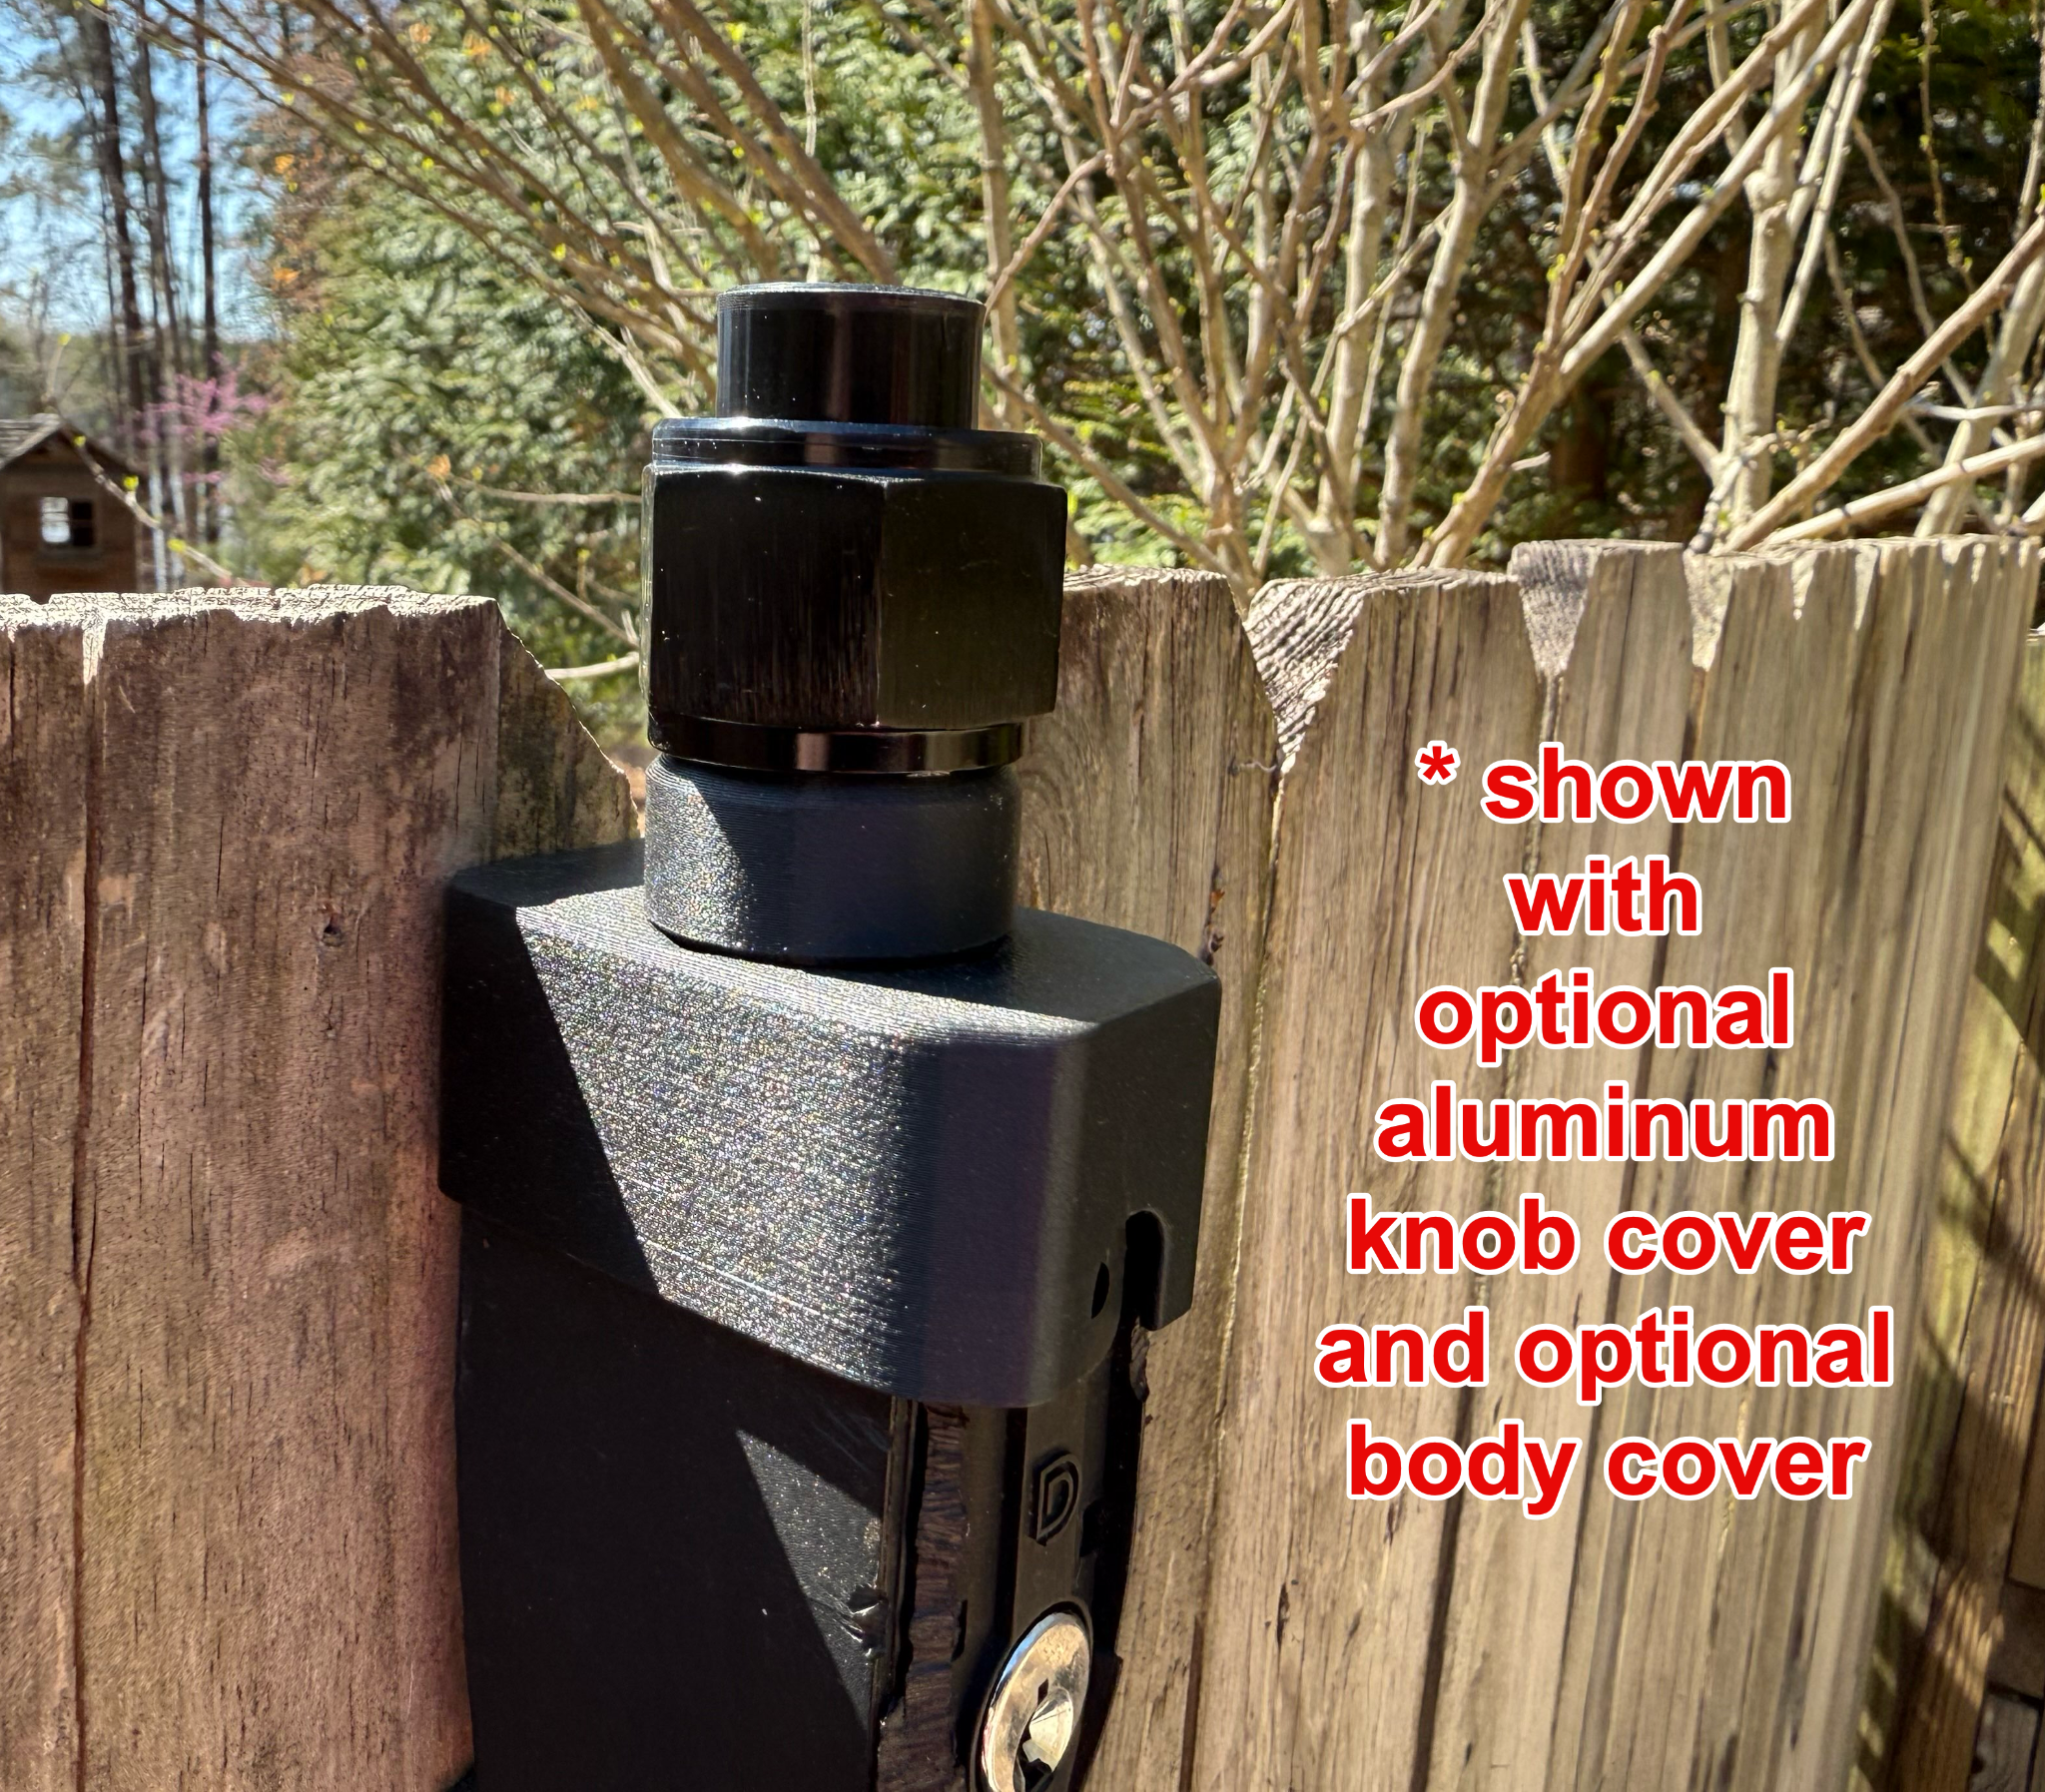
Your Gen3 replacement kit includes: 3D printed knob body, aluminum cap, clip, screw, and pulling string.
Gen3 benefits:
- No drilling or screws required
- Visually similar to original knob
- Replaceable caps (non-aluminum model)
- Aluminum cap option provides maximum squirrel protection
Tools Required
- Torx T10 security bit (required — available as an add-on at Etsy checkout, free for orders over $30 — just ask in the personalization field)
- Needle-nose pliers (or optional V3 removal tool)
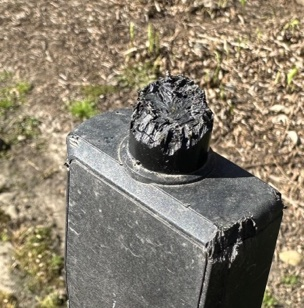
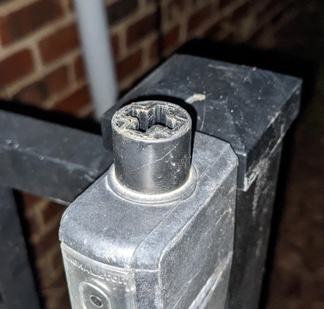
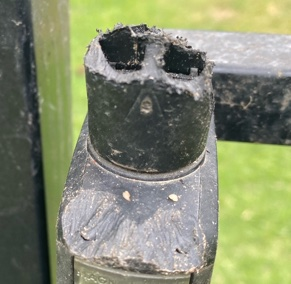
Damage Examples
All of the damage levels below — from moderate to severe — are compatible with a Gen3 replacement knob. Consider adding a Body Cover if your lock body has damage below the knob.
 |
 |
 |
Installation Steps
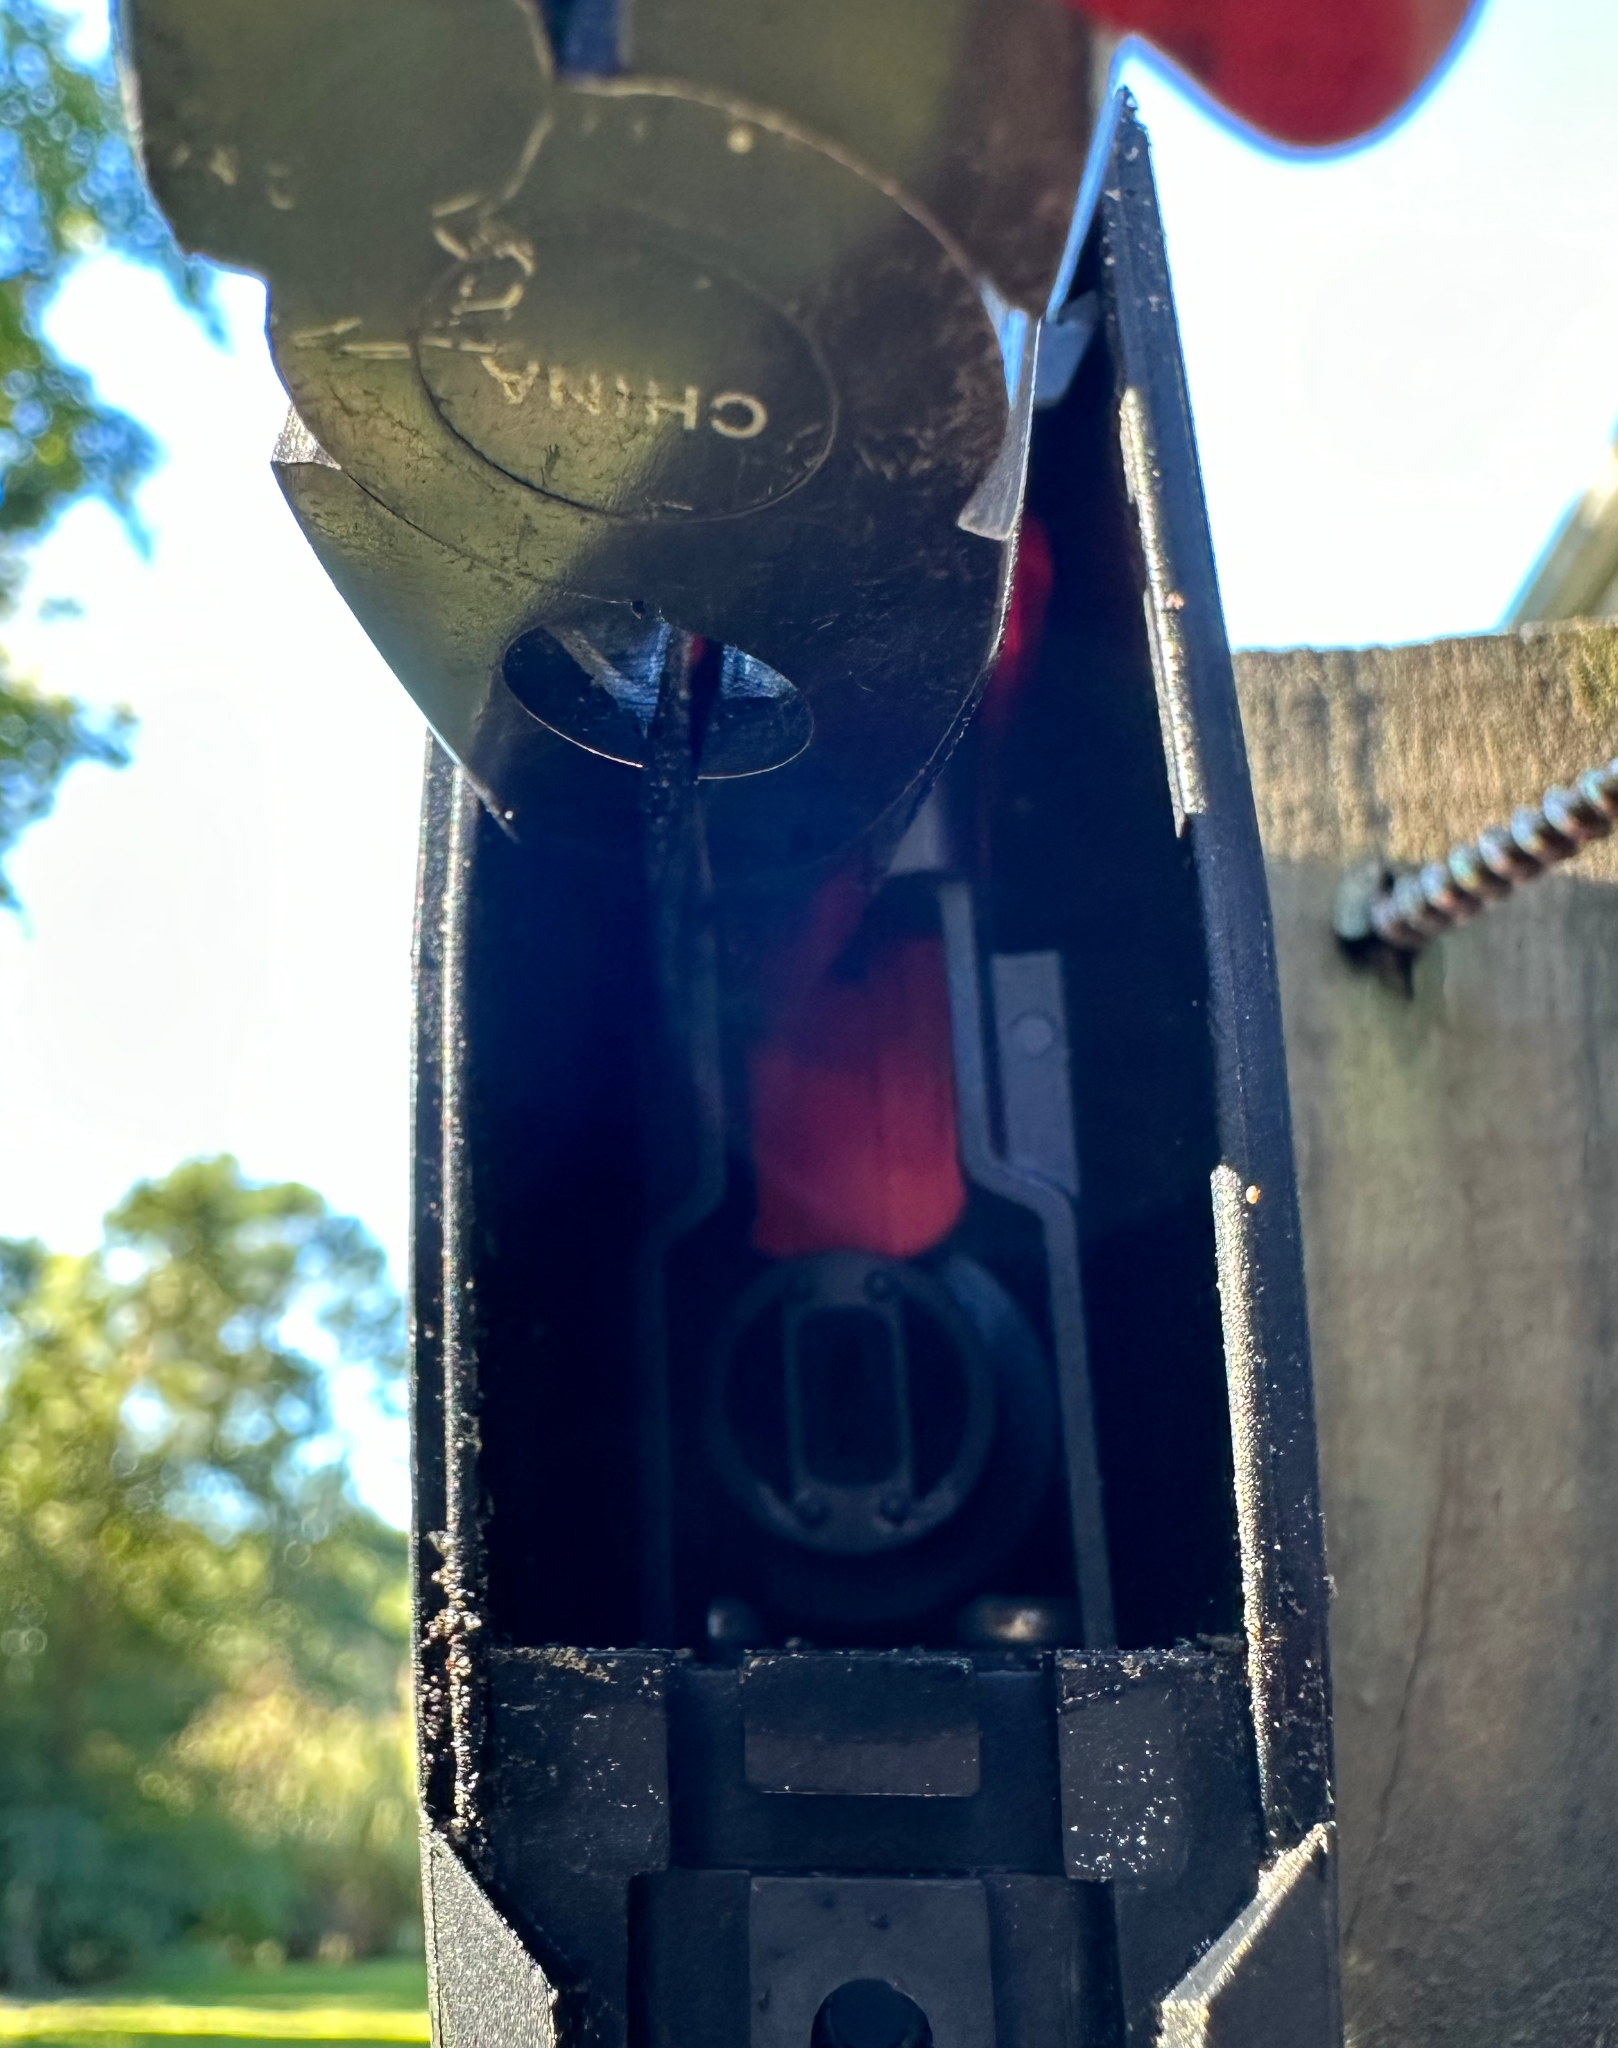
⚠️ Heads up: Depending on the age and location of your lock, you may find insects (ants, spiders) inside when you open it. Not unusual — don’t be surprised.
1. Review the damage examples above to confirm your lock has enough structure remaining to accept a replacement knob. Add a Body Cover to your order if there is damage to the lock body below the knob.
2. Locate the Torx T10 security screw on the front face of the lock body. Unscrew it completely. Once removed, the front cover will come off from the bottom.
3. Pull the lock unit (white plastic and metal lock mechanism) out of the body. With the lock removed, you will see the fork and the shaft that the knob connects to. Use needle-nose pliers to grab the side of the fork and pull it firmly toward you to separate it from the shaft.
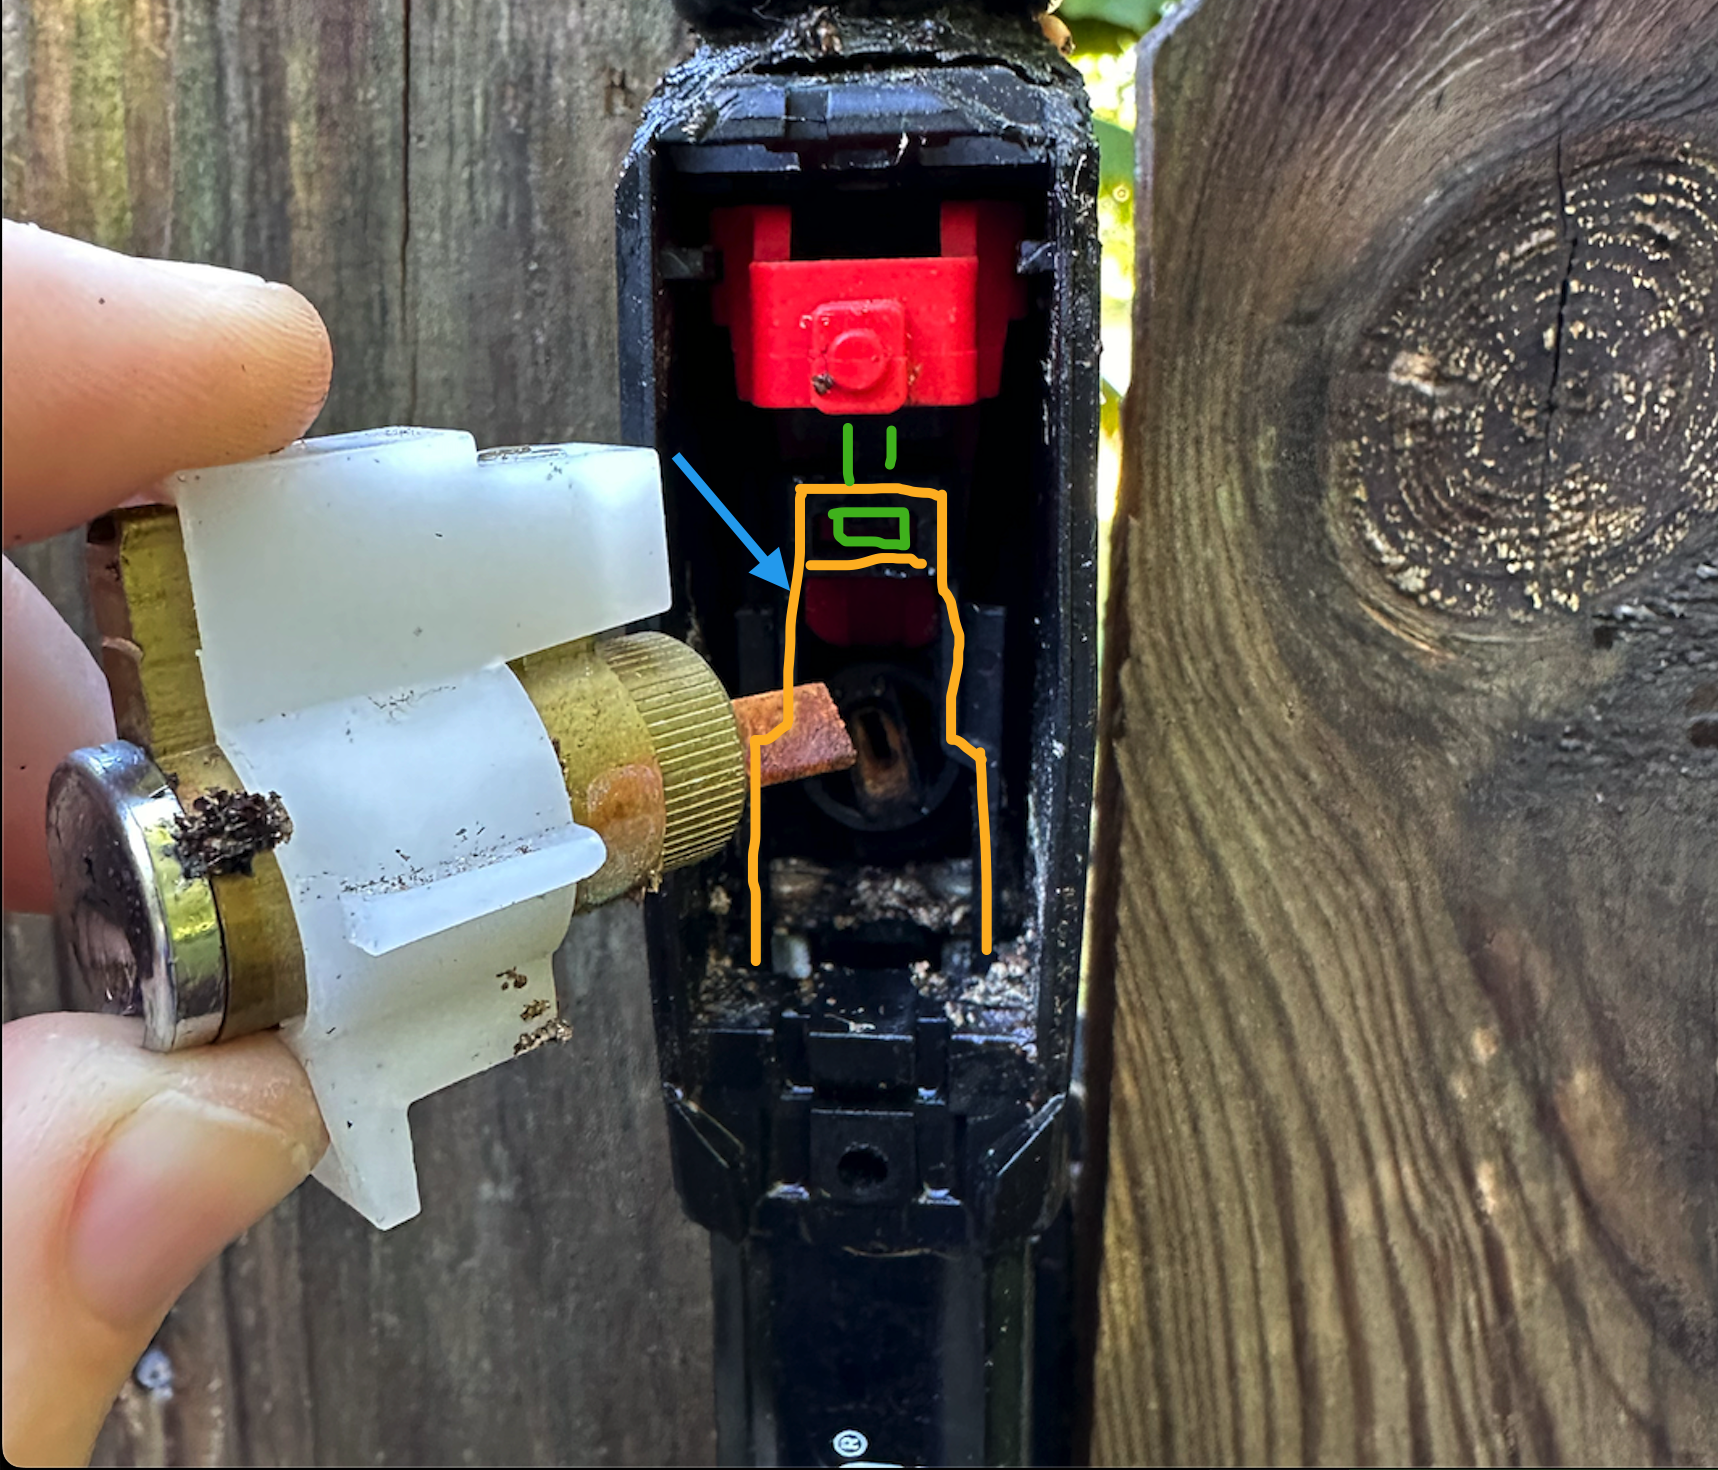
4. Finish separating the fork by hand. Push the shaft upward to remove what remains of your existing knob.
5. Insert the replacement knob with the arrow (and sticker) facing the front of the lock.
6. Pull the fork piece up and out, guide it over the T-shaped shaft, and gently push down until it snaps into place.
7. Verify that the knob moves and operates correctly — pull up to confirm the latch releases.
8. Reinstall the lock unit by lining the lock spindle up with the hole toward the back of the body.
9. Screw the front cover back on with the Torx T10 screw.
10. (Optional) If you purchased a body cover, unscrew the aluminum knob cover and install your body cover.
Done!
Questions?
Contact us — include a photo of your lock if possible and we’ll help before you start.
Cronological Technologies, LLC is not affiliated with D&D Technologies or Magnalatch. Magnalatch is a trademark of D&D GROUP PTY LTD.